
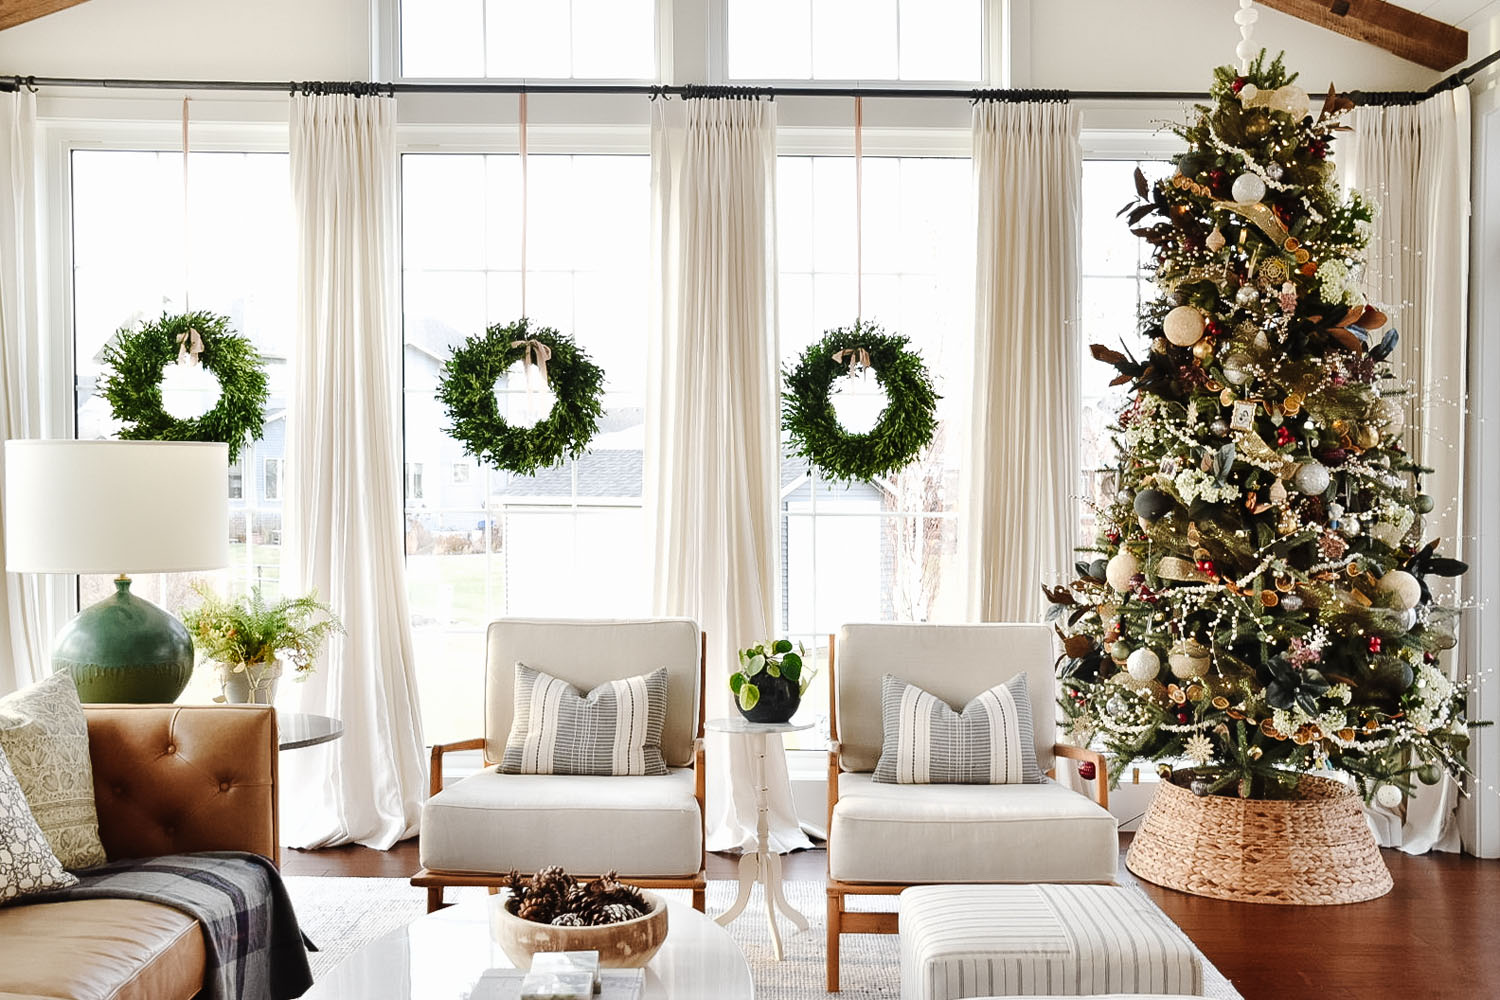
I’m Katie Sullivan, designer and holiday enthusiast, and I believe your home can be both beautiful and functional. I know how important it is to craft a home that not only works for you, but that inspires you. My sunroom fills the gaps in the photo of three generations gathered to celebrate a special occasion, and my Christmas tree lights up the home videos of my children tearing through wrapping paper to see what’s inside. Your home is the backdrop to your life. I started Pretty Domesticated, a home and lifestyle brand and newly launched design firm, because I know home matters. At Pretty Domesticated, we don’t just aim to help people create beautiful spaces, but to create homes made for living, whether that be through quick tips on our website or Instagram, or through one-on-one services.
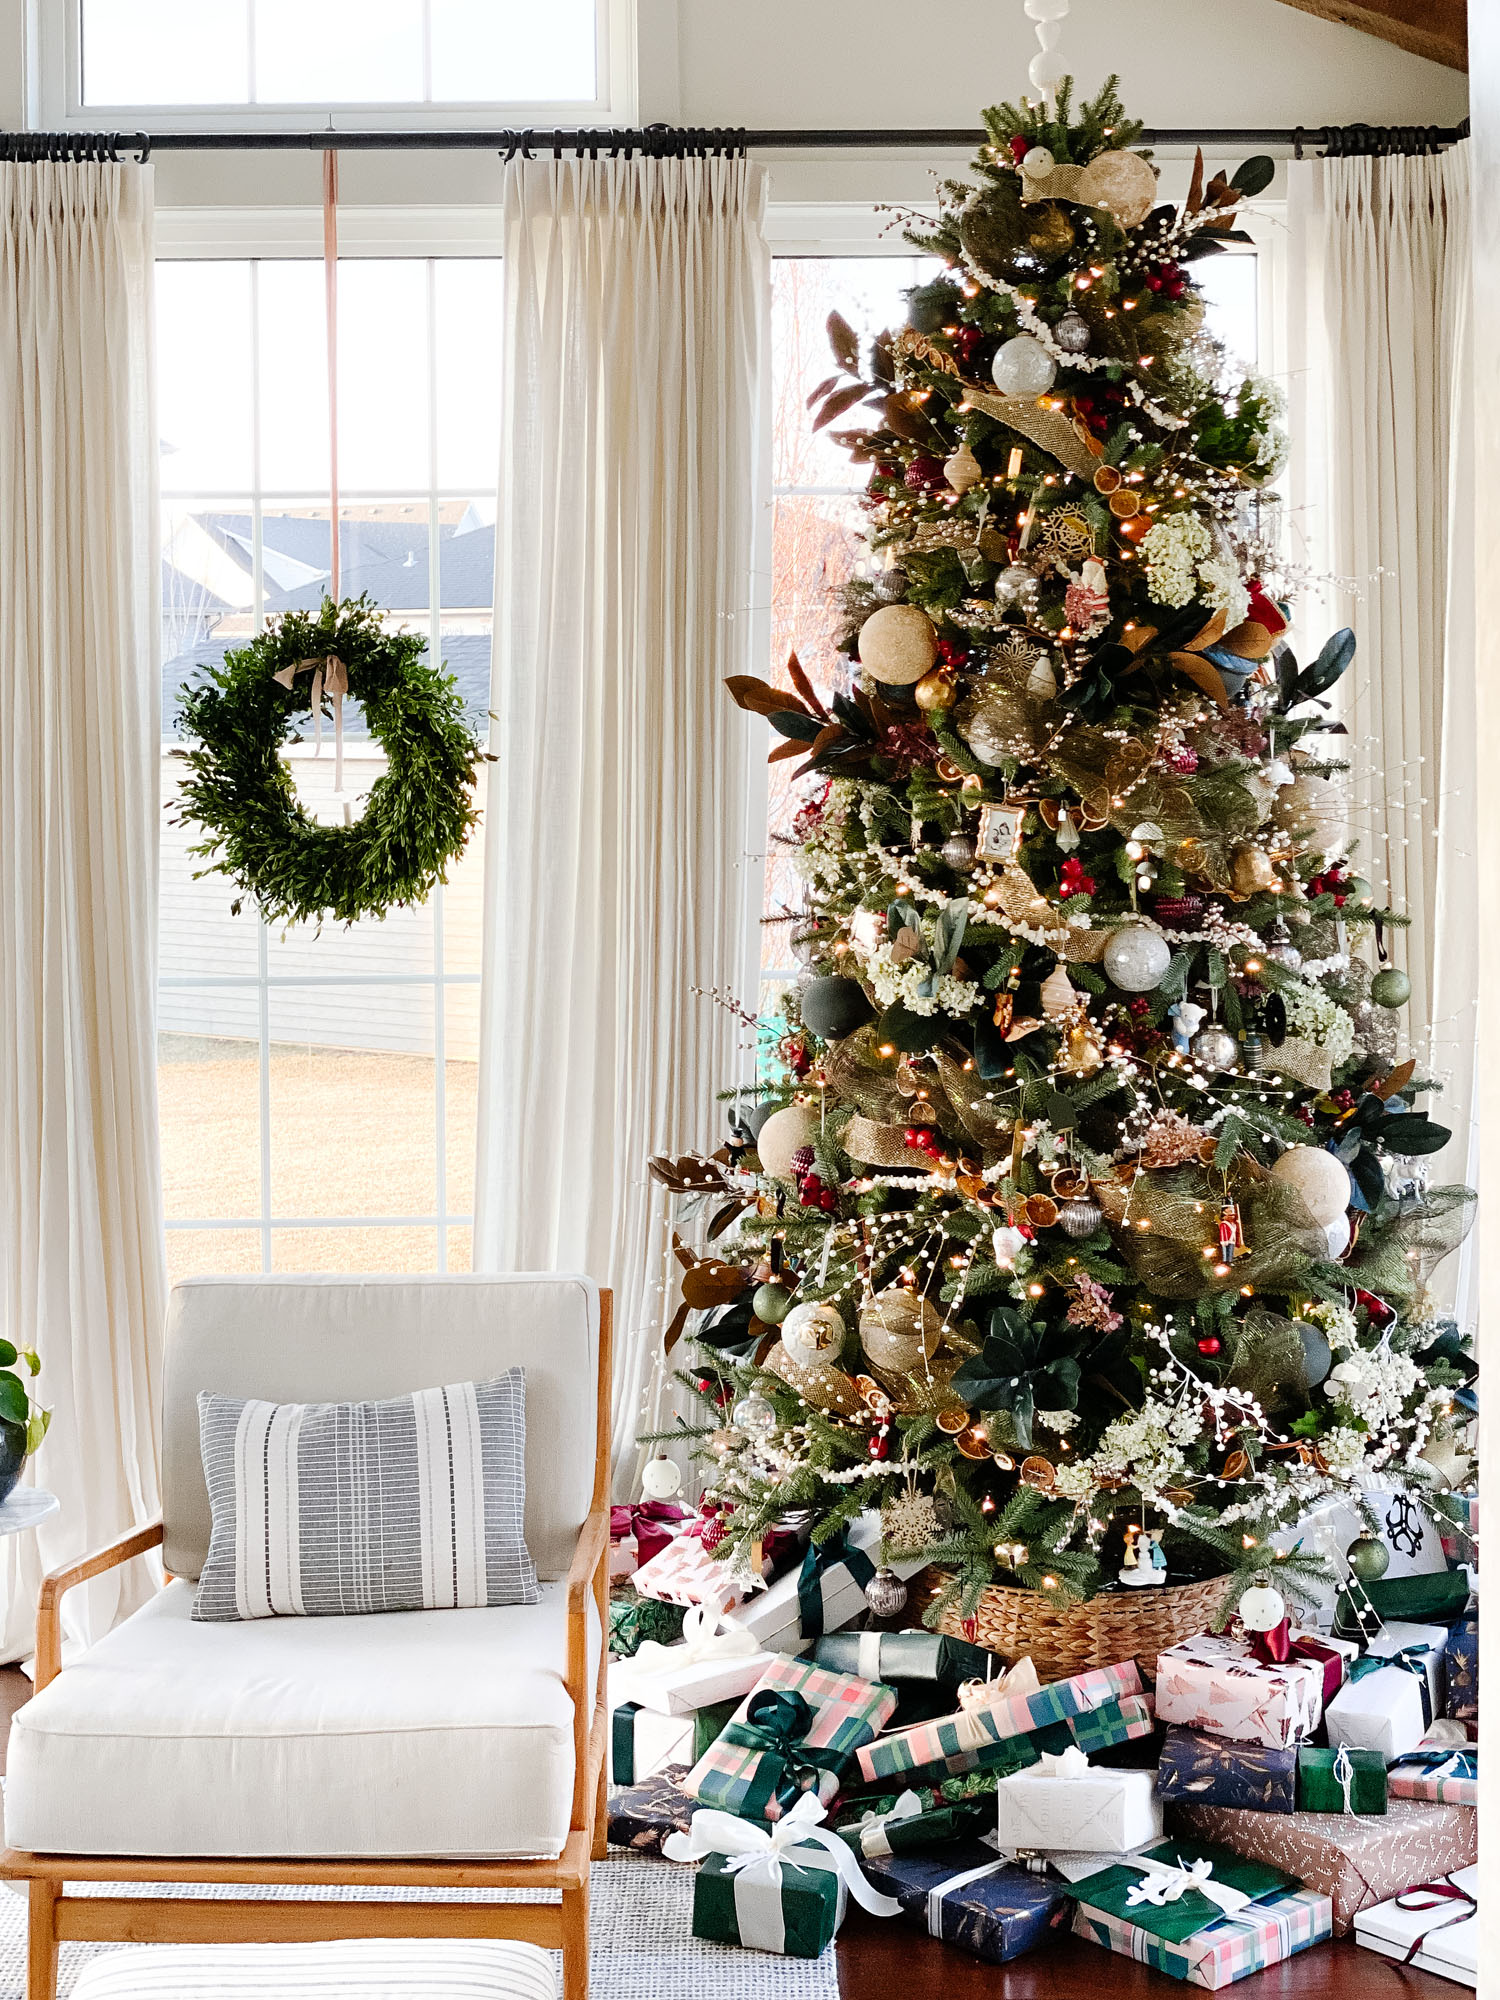
My approach to holiday décor is no different. My holiday style is a mix of traditional and organic. I love to mix beautiful décor, and lots, and lots, of garland with sentimental and collected items. I love seeing my kids dig through the holiday bins searching for the décor and ornaments that are meaningful to them. While I change the color scheme and garland each year for a fresh look, for the big things, like the tree, I prefer to build on what I already have. Over the years, I have developed a bit of a formula for decorating a Christmas tree and it hasn’t steered me wrong yet. These tips work regardless of your holiday style and no matter where you are in your ornament collection. The best part, though, is if you use these six tips your tree will get even better with time!
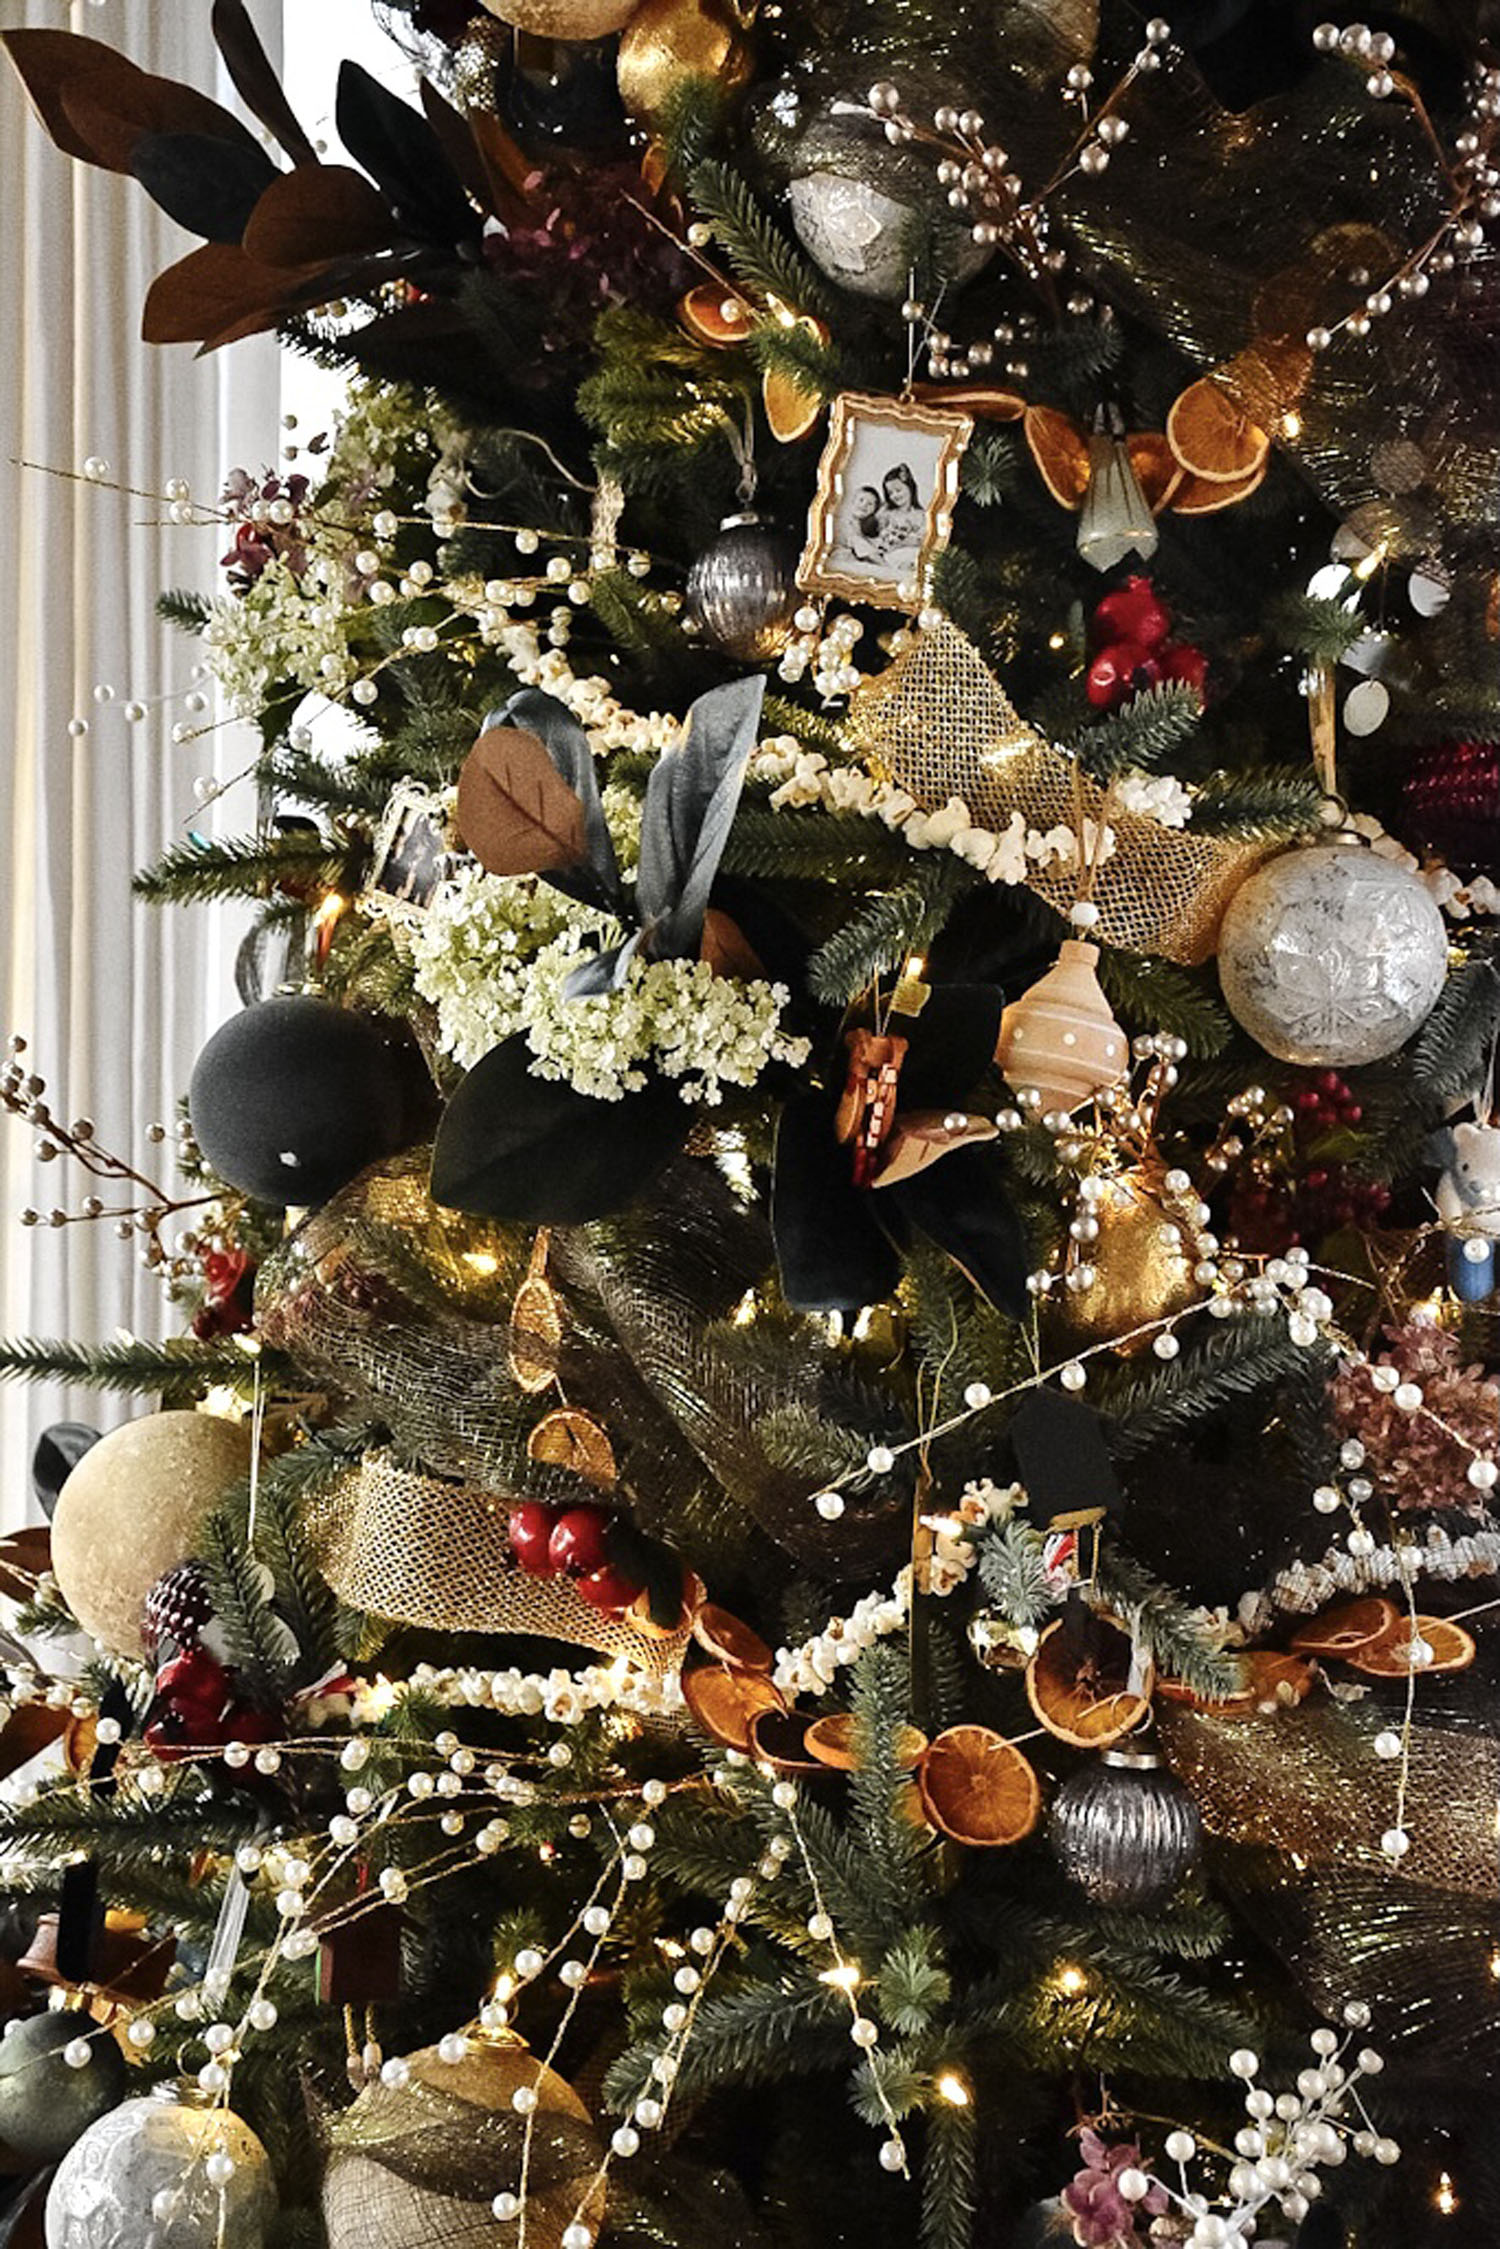
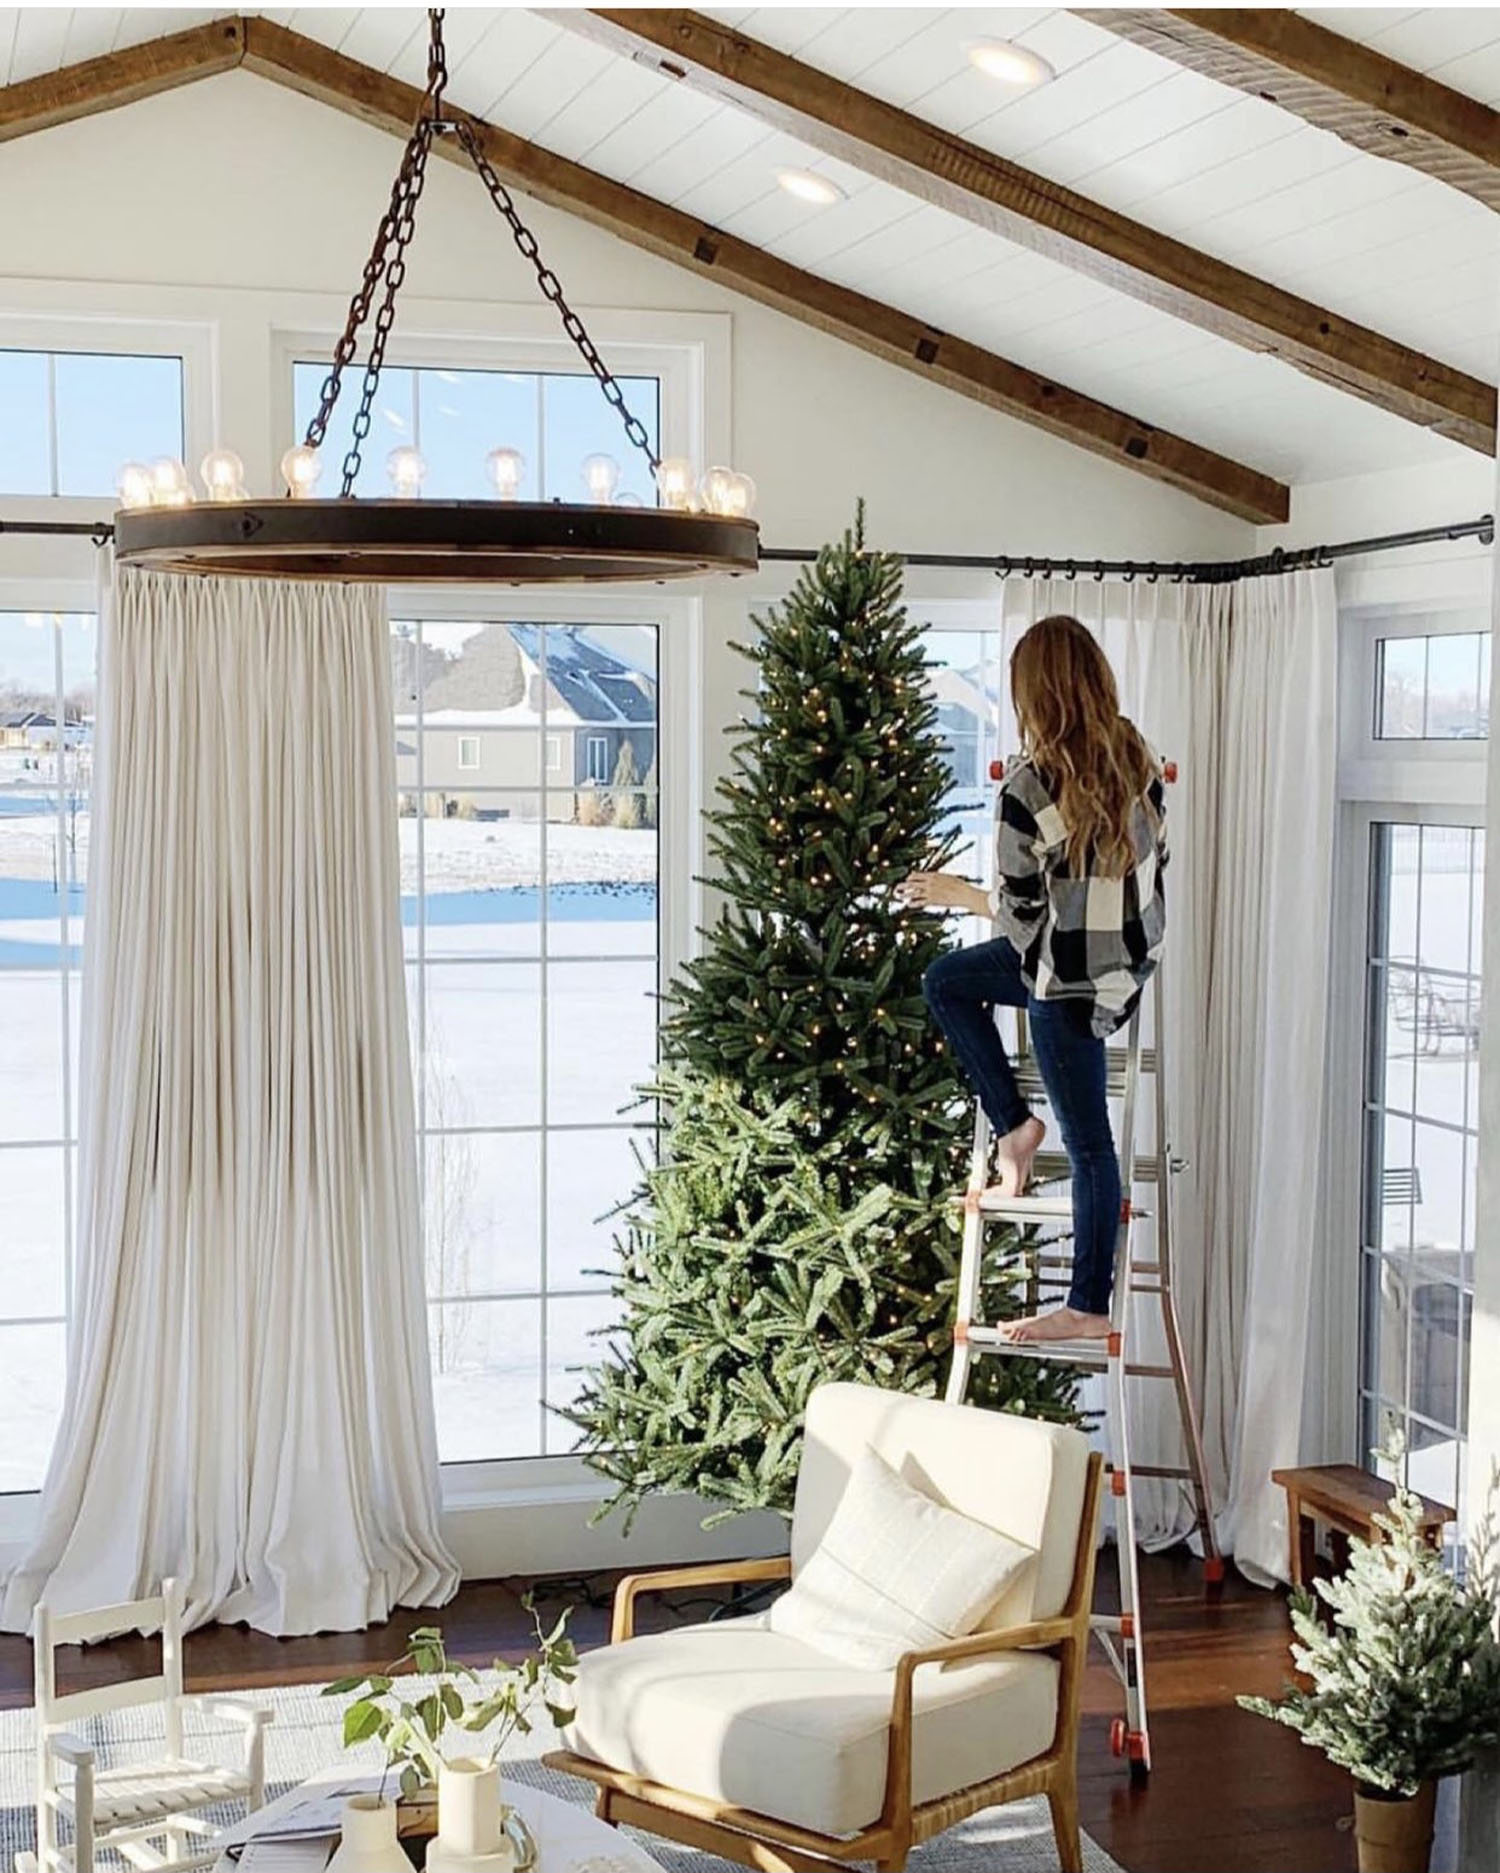
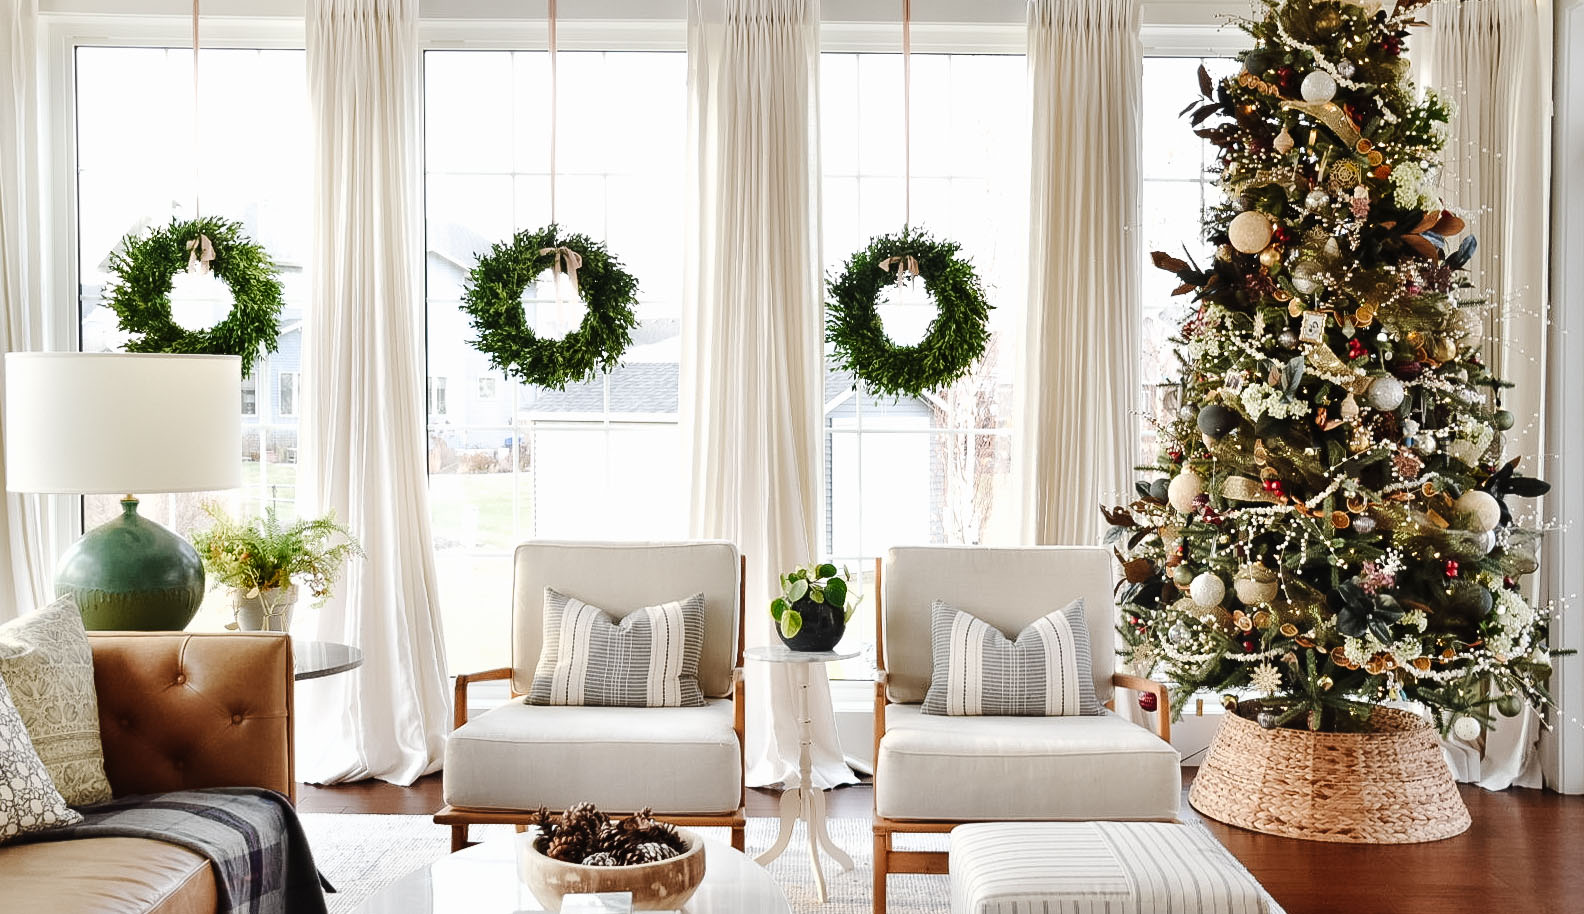
- Let there be light!: Pre-lit trees are the way to go. While there’s a certain magic to a fresh tree, you can’t deny the convenience of a tree you can use year after year. Plus, with the advent of real touch, today’s trees are getting more realistic every day. Look for a tree with at least 100 lights per foot of height for a truly magical glow. [note: our tree is from Balsam Hill.]
- Loop your ribbon: We prefer a tree with layers and we always start ours with ribbon. The secret is to do big loops of ribbon outside and INSIDE the tree. I start from the top and work my way down at an angle. Here we used 2.5 in. gold ribbon and subtle green mesh ribbon for added texture. If you’re using mesh, rather than looping, pinch and twist the ribbon every 2 feet or so. Then gently push the twisted part into the tree.
- Wrap garland around the tree: This is a great opportunity to add a pop of color or texture to your tree. We created homemade garlands made from popcorn and baked oranges for ours. Not only are they beautiful, making garland is a great holiday activity to do with family or friends. When carefully stored, both garlands can last 2 years or more.
- Add branches and florals for texture: We’re a little extra, so we load our tree up for a full look. This is a great way to fill out a tree that feels a little sparse. We like to keep our look mostly organic, almost like we picked the items out of our own yard, instead of the store aisles they’re really from. We used a mix of magnolia branches, faux and dried hydrangeas, pomegranate picks, and pearl branches.
- Hang ornament sets: Our trick is to buy sets of at least six matching ornaments. Then we scatter them throughout out the tree for a cohesive look. We’ve collected our sets over the years but have stuck to a theme of earthy and metallic colors with pops of burgundy. Vary the sizes and shapes for an interesting look.
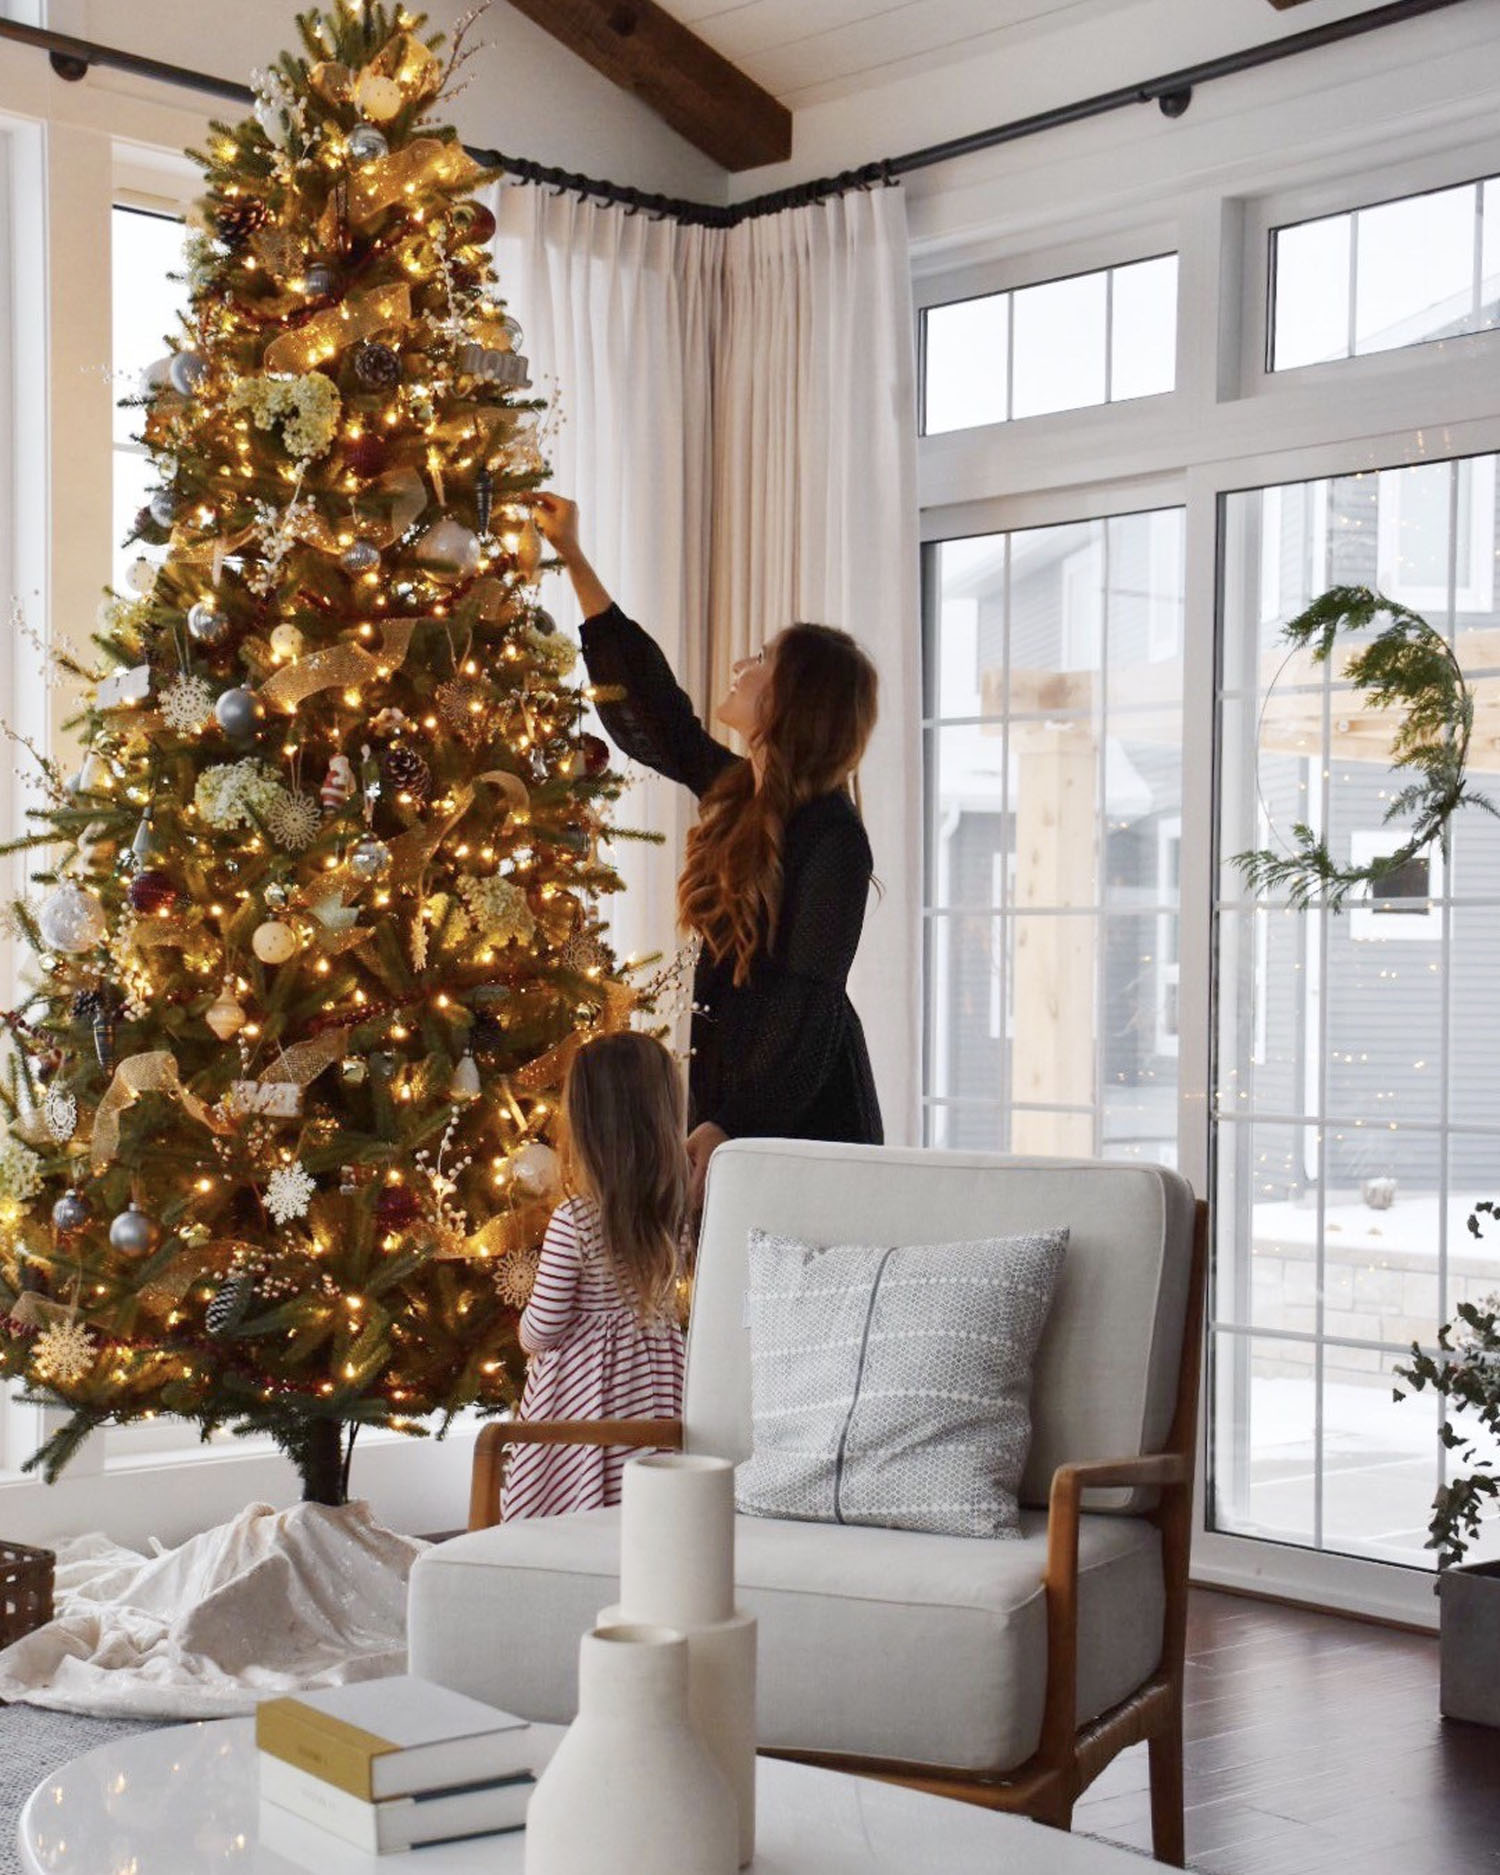
- Add sentimental ornaments: The most important step of all. This part will make the tree all your own! Every year each member of our family selects an ornament that reflects their past twelve months. Sometimes they’re funny, sometimes they’re pretty, but they’re always something we look forward to.